Fantasy Fudge Recipe
Introduction
What if a single, no-fail batch of fudge could deliver bakery-level texture, a balance of sweetness and depth, and be ready to slice in about 90 minutes—challenging the idea that great fudge requires hours of simmering and tempering? Many home cooks assume fudge needs complex techniques; this recipe flips that expectation by using controlled heat, quality chocolate, and simple chemistry to create a "fantasy" fudge that reliably sets glossy, cuts clean, and tastes indulgent.
Ingredients List
- 14 oz (400 g) sweetened condensed milk — provides sweetness, body, and set; substitute: full-fat evaporated milk + 3/4 cup sugar for a less sweet result (adjust to taste).
- 12 oz (340 g) high-quality dark chocolate, chopped (60–70% cacao recommended) — for depth and less cloying sweetness; substitute: semisweet or milk chocolate for a softer, sweeter fudge.
- 4 tbsp unsalted butter, room temperature — adds sheen and mouthfeel; substitute: coconut oil for dairy-free version (see alternatives).
- 1 tsp pure vanilla extract — rounds flavors; substitute: 1/2 tsp espresso powder for intensified chocolate notes.
- 1/4 tsp fine sea salt — balances sweetness; omit for sweeter profiles or increase to 1/2 tsp for a salted caramel vibe.
Optional mix-ins (choose up to 1 cup total): chopped toasted pecans, chopped dried cherries, swirl of salted caramel, mini marshmallows, crushed peppermint, or 2 tbsp cocoa nibs for texture.
Timing
Preparation: 15 minutes.
Cooking (melting & short simmer): 10–15 minutes.
Cooling & setting: 60 minutes (refrigerated) or 90–120 minutes at room temperature depending on ambient temperature.
Total time: 85–150 minutes. Compared to many traditional stovetop fudge methods that include long sugar-boiling phases and multiple cooling intervals (often 2–3 hours total), this approach reduces active cooking time by roughly 20–40% while still delivering a firm, sliceable result thanks to the condensed milk technique.
Step 1: Prep your pan and ingredients
Line an 8×8-inch square pan with parchment or foil, leaving a 1–2 inch overhang to lift the fudge easily. Measure and chop the chocolate into uniform pieces so it melts evenly. Toast any nuts you're using for 6–8 minutes at 350°F (175°C) until fragrant. Tip: room-temperature butter and condensed milk incorporate more smoothly; cold ingredients can lead to streaks or grainy texture.
Step 2: Melt with control
Place a heavy-bottomed saucepan over low heat. Pour in the condensed milk and add the butter. Warm gently, stirring constantly until butter melts and mixture is uniform (2–3 minutes). Add the chopped chocolate off the heat, then return to very low heat, stirring constantly until the chocolate is fully melted and the mixture is glossy. Actionable tip: avoid boiling—the goal is a gentle melt. If using a double boiler, reduce risk of scorching; if the chocolate seems grainy, remove from heat and stir until glossy.
Step 3: Flavor and adjust
Stir in vanilla, salt, and any espresso powder or extracts immediately after the chocolate is fully melted. Taste a small spoonful and adjust: if too sweet, a pinch more salt or 1/8 tsp espresso can deepen flavor; if too intense, fold in 1–2 tbsp of melted white chocolate or an extra tablespoon of butter. Personalized tip: for a more adult profile, add 1–2 tbsp of bourbon or rum after removing from heat.
Step 4: Add mix-ins and pour
Fold in 2/3 of your mix-ins gently to distribute without creating air pockets. Pour the mixture into the prepared pan, tapping once on the counter to remove air bubbles. Scatter the remaining mix-ins on top for a professional look. Actionable trick: for neat swirl effects (caramel, peanut butter), drop teaspoons of swirl in lines and drag a skewer through for an artisan finish.
Step 5: Set and finish
Let the pan sit at room temperature for 30–60 minutes until it cools slightly, then transfer to the refrigerator for at least 60 minutes for firm slicing (or 90–120 minutes total if keeping on the counter in cool rooms). Remove using the overhang and score into 1-inch squares before fully slicing to get clean edges. Tip: if your fudge is a bit soft, a quick 10-minute chill before slicing yields crisper cuts without shocking texture.
Nutritional Information
Estimates per 1-inch square (approx. 25 g serving) of this Fantasy Fudge (values rounded): Calories 140 kcal; Total Fat 8.5 g; Saturated Fat 5.0 g; Cholesterol 12 mg; Sodium 40 mg; Total Carbohydrates 16 g; Sugars 14 g; Protein 1.5 g; Fiber 1.2 g. Data insight: fudge is energy-dense—about 55–65% of calories come from fat—so portion control (1-inch squares) helps balance indulgence within daily macronutrient goals. For precise tracking, weigh your batch and calculate using your preferred nutrition app.
Healthier Alternatives for the Recipe
- Lower-sugar version: use 50/50 sweetened condensed milk + unsweetened cocoa + 2–3 tbsp powdered erythritol or monk fruit, then taste and adjust. This reduces refined sugar but changes texture—chill longer to firm.
- Vegan/dairy-free: use sweetened condensed coconut milk (available or homemade by reducing full-fat coconut milk + sweetener) and replace butter with coconut oil or vegan butter. Use dairy-free dark chocolate. Expect a slightly softer set—freeze 10–15 minutes before slicing.
- Reduced-fat take: swap two tablespoons butter for 2 tbsp Greek yogurt stirred in after cooling slightly; this will create a tangier, softer fudge and requires immediate refrigeration.
- Protein boost: fold in 2 tbsp chocolate or vanilla whey or plant-based protein powder (unflavored works better) after the mixture is slightly cooled to avoid clumping. This increases protein per serving and can slightly alter texture—add 1–2 tsp extra liquid if too stiff.
Serving Suggestions
Serve chilled or at room temperature on a decorative platter with small parchment squares between pieces for easy picking. Pairings: a robust espresso, smoky black tea, or a dessert wine like tawny port enhances chocolate complexity. For parties, create a “fudge bar” with three varieties (classic chocolate, salted caramel swirl, and mint-crunch) and small labels describing flavor notes. Personal touch: warm a few squares for 8–10 seconds in the microwave and drizzle with warm caramel for a molten experience.
Common Mistakes to Avoid
- Overheating the chocolate: leads to grainy or separated texture. Solution: low heat, constant stirring, or double boiler.
- Skipping uniform chopping: large chunks melt unevenly and can cause scalds or unmelted bits—chop to similar sizes.
- Not lining the pan: makes removal difficult and can break edges when cutting.
- Cutting too soon: fudge needs time to crystallize; premature slicing yields sticky, misshapen pieces—chill adequately.
- Adding alcohol or extracts on high heat: volatile flavors dissipate; always incorporate after removing from heat.
Storing Tips for the Recipe
Store fudge in an airtight container layered with parchment to prevent sticking. Room temperature: up to 5 days in a cool, dry place. Refrigerator: up to 2 weeks—bring to room temperature for 15–20 minutes before serving for optimal texture. Freezer: freeze individually wrapped pieces in a single layer, then transfer to a sealed bag for up to 3 months; thaw in the fridge overnight. Prep-ahead: make up to 1 week in advance for gatherings—flavors often meld and improve after 24 hours.
Conclusion
This Fantasy Fudge recipe streamlines traditional methods without sacrificing texture or flavor—using quality chocolate, controlled heat, and simple techniques yields a glossy, sliceable fudge in significantly less active time. Try the base version, then personalize with swirls, mix-ins, or healthier swaps to suit your dietary needs. Ready to test it? Make a batch this weekend, leave a comment with your favorite twist, and explore related recipes like Salted Caramel Swirl Fudge or Vegan Cashew Fudge for more inspiration.
FAQs
Q: Can I use chocolate chips instead of a chocolate bar?
A: Yes, but choose premium chips (not "baking chips") since higher cocoa butter content helps a glossier result. Chop larger chips for faster, even melting.
Q: My fudge turned out grainy—why?
A: Graininess often comes from overheating or sugar crystallization. Avoid boiling, stir constantly while melting, and don’t introduce cold liquids abruptly.
Q: How do I make salted caramel swirl without losing set?
A: Use a thicker caramel (slightly reduced) and drop small spoonfuls on the surface, then drag a skewer gently—don’t fully incorporate; chill promptly to set swirl layers.
Q: Is sweetened condensed milk necessary?
A: It simplifies setting and provides stable body. You can replicate with evaporated milk + sugar reduction but texture and sweetness will differ and may require longer cooking.
Q: Can I scale the recipe up?
A: Yes—use a larger pan and scale ingredients proportionally. Monitor cooling time and storage; larger batches may need longer chill time to set evenly.
Explore more: try varying cacao percentages or compare this condensed milk method to classic sugar-crack fudge in a follow-up post—let me know if you want a printable PDF, step-by-step photos, or a video walkthrough.
Fantasy Fudge Recipe
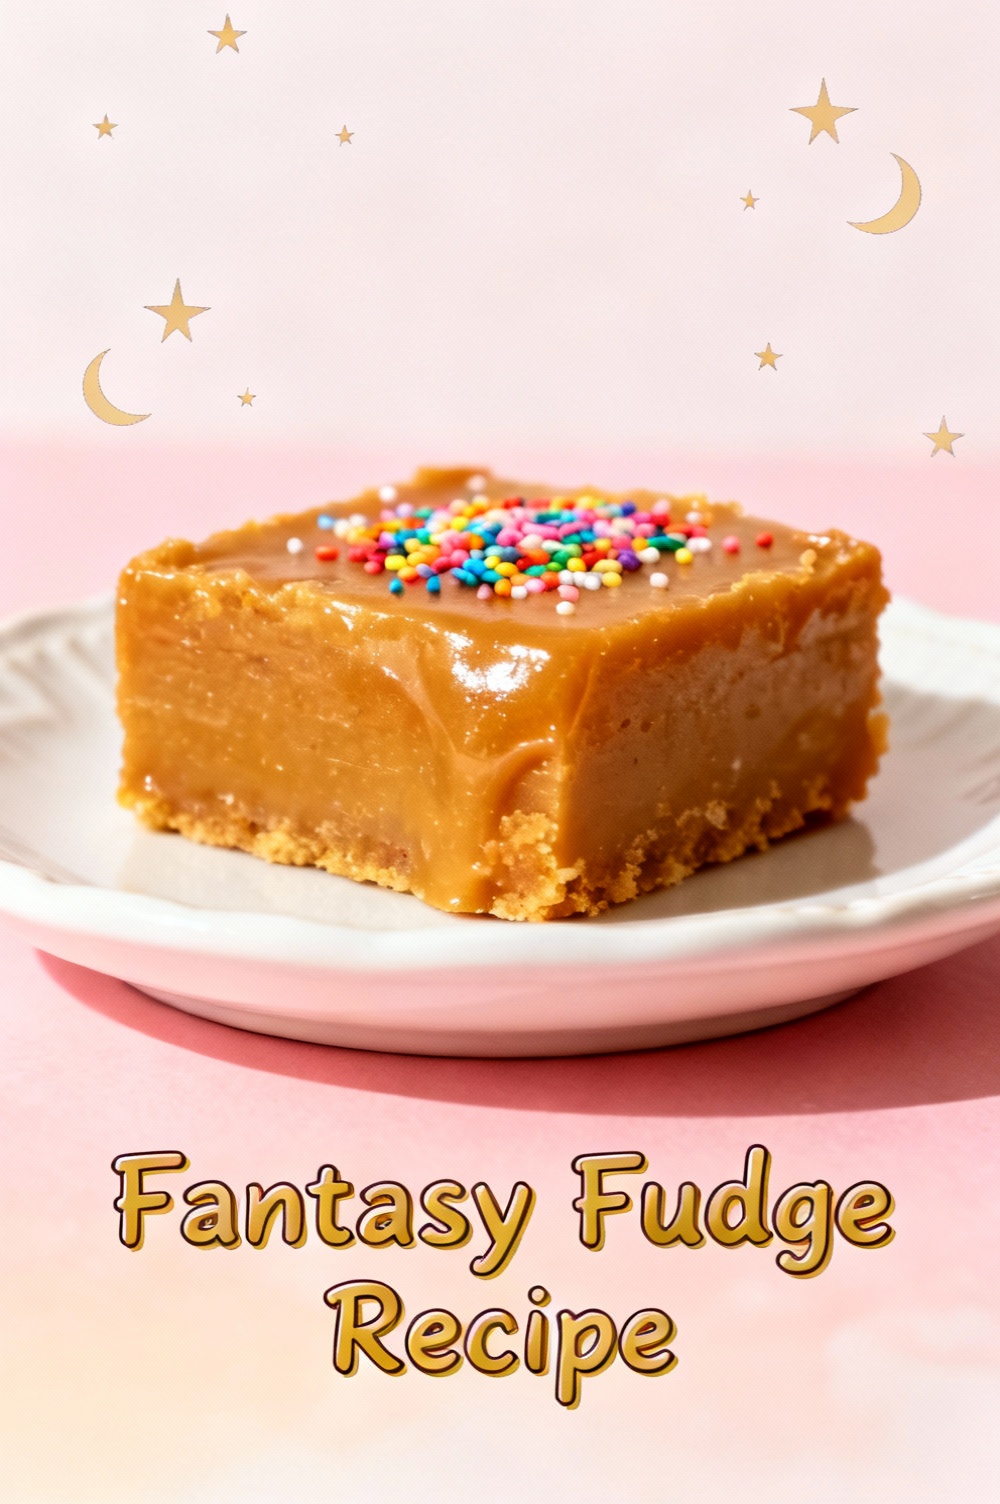
A dreamy, swirled fudge — silky dark chocolate and creamy white chocolate layered with toasted almonds and a sprinkle of colorful crunch.
Ingredients
- 14 oz (397 g) sweetened condensed milk (1 can)
- 12 oz (340 g) semi-sweet chocolate chips or chopped semi‑sweet chocolate
- 8 oz (226 g) white chocolate chips or chopped white chocolate
- 4 tbsp (56 g) unsalted butter
- 1 tsp vanilla extract
- 1/2 tsp fine sea salt
- 1/2 cup (45 g) toasted sliced almonds, cooled
- 1/3 cup rainbow sprinkles (optional; for a whimsical finish)
- 1/4 cup mini marshmallows (optional)
- 1 tsp neutral oil (veg oil or light olive oil) — optional, for extra gloss
- Butter or parchment to line a 9×9 inch (23×23 cm) pan
Instructions
- Line a 9×9 inch (23×23 cm) pan with parchment, leaving an overhang for easy removal. Lightly butter the parchment.
- Divide the condensed milk roughly in half by volume into two microwave-safe bowls (or two small saucepans).
- For the dark layer: add the semi-sweet chocolate, 2 tbsp butter and 1/2 tsp vanilla to one bowl. Heat gently in 20–30 second bursts in the microwave, stirring between bursts, until smooth. Stir in 1/2 the condensed milk and 1/2 tsp salt; add 1/2 the toasted almonds (reserve the rest) and 1/2 tsp oil if using.
- For the white layer: add the white chocolate and remaining 2 tbsp butter to the second bowl. Heat in 20–30 second bursts, stirring until smooth. Stir in the remaining condensed milk and a pinch of salt and the rest of the almonds if you like nuttier white chocolate pockets.
- Pour the dark chocolate mixture into the prepared pan, spreading evenly. Dollop the white chocolate mixture over the dark layer in spoonfuls. Using a skewer or the tip of a knife, gently swirl the two layers to create a marbled effect — don’t overmix.
- Sprinkle the top with rainbow sprinkles and mini marshmallows if using. Press lightly so decorations adhere.
- Chill in the refrigerator for at least 2 hours, or until firm. For quicker setting, place in the freezer for 30–45 minutes but watch closely.
- Lift the fudge from the pan using the parchment overhang. Trim edges and cut into 20 squares with a sharp knife (warm the knife under hot water and wipe dry for cleaner cuts).
- Store airtight in the refrigerator for up to 2 weeks or freeze for longer storage. Let sit at room temperature 10–15 minutes before serving for optimal texture.
Nutrition Information
- Calories: 220 kcal (per square, approximate)
- Cholesterol: 20 mg
- Sodium: 40 mg
- Carbohydrates: 24 g
- Fiber: 1 g
- Sugar: 20 g
- Protein: 2 g