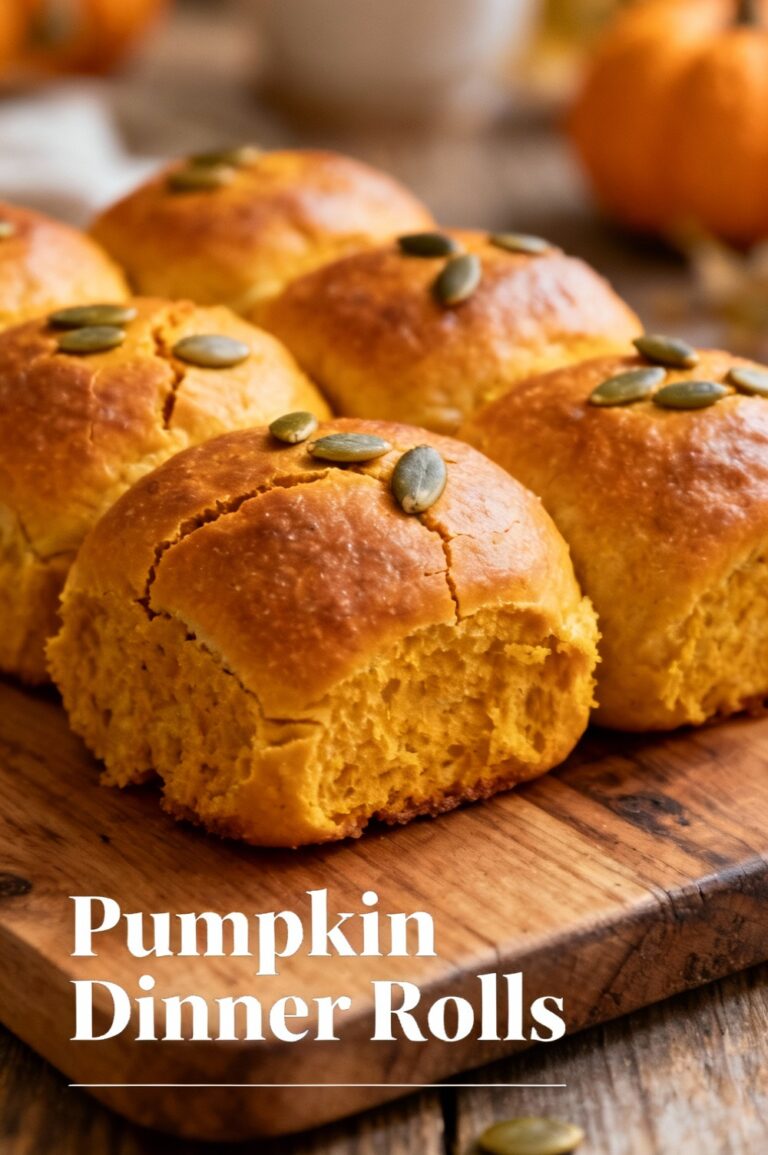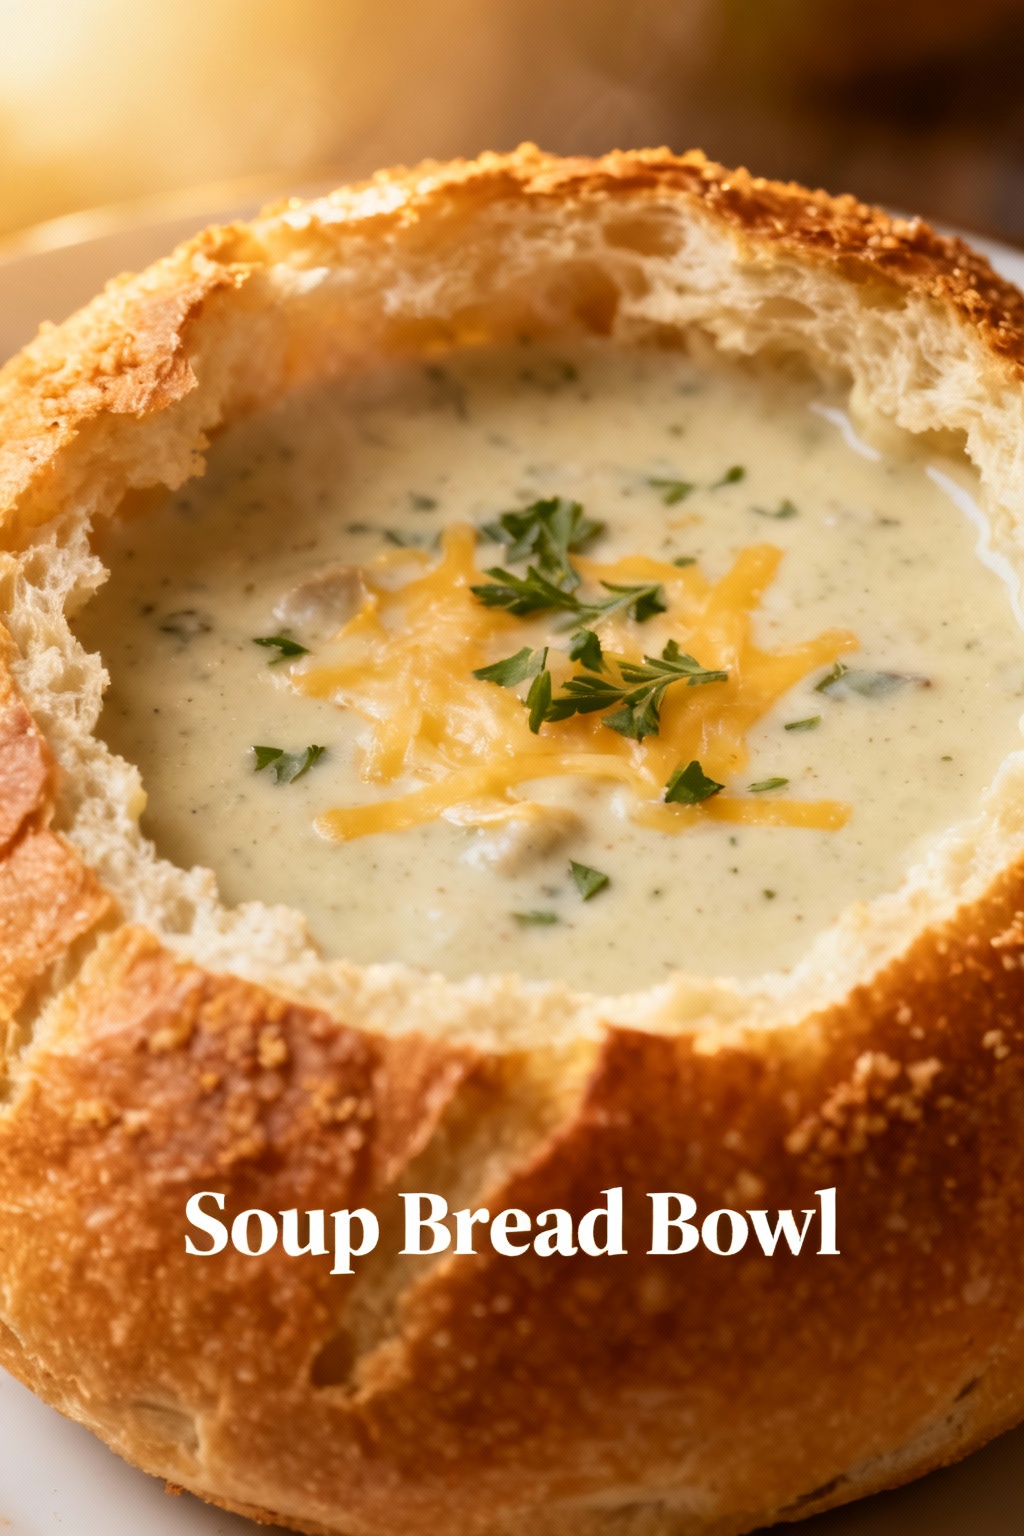
Soup Bread Bowl
Have you ever wondered why a hot bowl of soup tastes better when it’s served inside an edible loaf—and why this trend keeps climbing in search interest and social feeds?
If you love texture contrast, low-waste presentation, and the comfort-food factor, the soup bread bowl delivers all three—and more. Whether you’re planning a cozy weeknight meal or an Instagram-ready dinner party centerpiece, this guide gives you the recipe mechanics, timing, nutrition insights, troubleshooting, and healthy swaps so you can make irresistible soup bread bowls every time.
Ingredients List
- For the bread bowls (makes 4 small/medium bowls):
- 500 g (about 4 cups) bread flour (substitute: 50/50 whole wheat and bread flour for nuttier flavor; for gluten-free use a 1:1 gluten-free blend plus xanthan gum)
- 10 g (2 tsp) fine sea salt
- 7 g (1 packet) instant yeast (substitute: 15 g fresh yeast if preferred)
- 300–320 ml warm water (adjust for humidity/altitude)
- 15 g (1 tbsp) olive oil or melted butter (for richer crumb use butter)
- Optional: 1 tbsp honey or sugar (feeds yeast; omit for savory-only)
- Egg wash (1 egg beaten with 1 tbsp water) or plant-based milk for brushed crust
- Sesame, poppy, or everything seasoning for topping (optional; tactile crunch and aroma)
- For a classic creamy soup filler (chicken chowder-style, serves 4):
- 30 g (2 tbsp) butter or olive oil
- 1 medium onion, finely diced
- 2 cloves garlic, minced
- 2 medium potatoes, diced (or substitute with cauliflower for lower carbs)
- 2 cups cooked shredded chicken (or chickpeas/white beans for vegetarian)
- 2½ cups low-sodium chicken or vegetable broth
- 1 cup whole milk or ¾ cup cream (substitute: plant-based milk + 2 tbsp cornstarch for creaminess)
- 1 cup grated sharp cheddar (substitute: nutritional yeast + cashew cream for vegan)
- Salt, black pepper, smoked paprika, fresh thyme or parsley for finishing
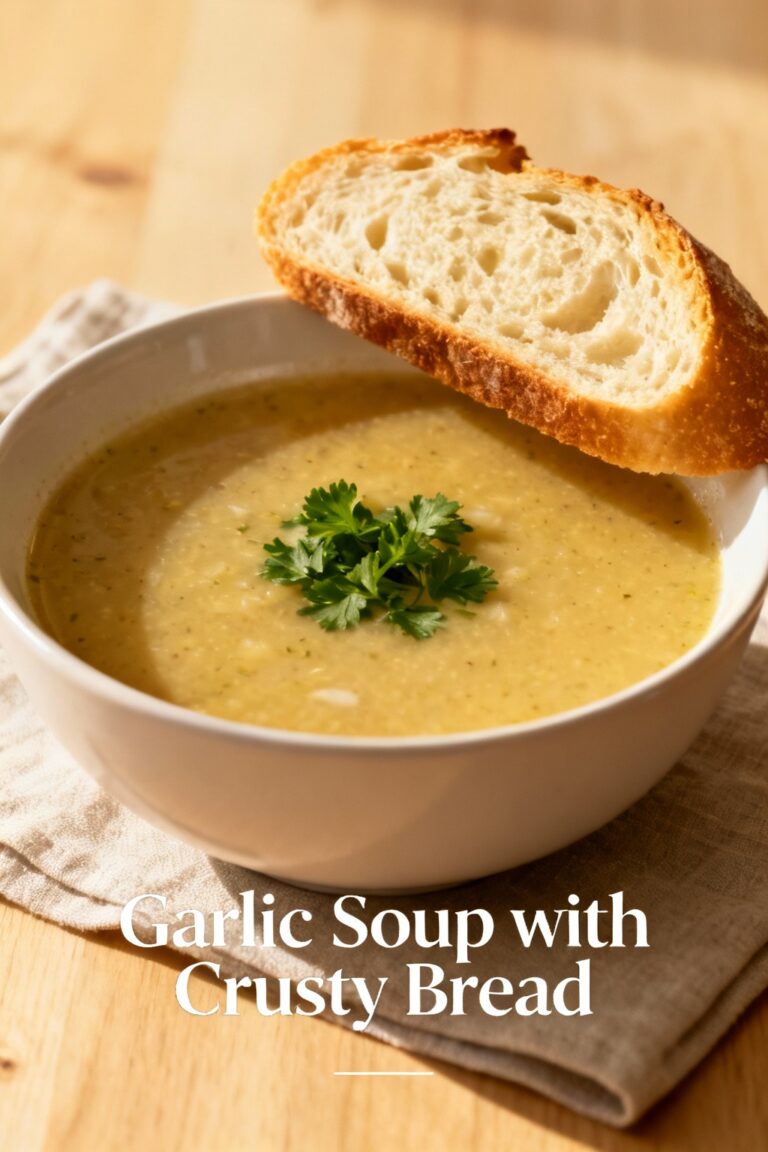
Sensory notes: The bread should yield a golden, crackly crust with a slightly tangy, chewy interior; the soup should be velvety, aromatic, and spoon-cohesive so it clings to the bowl walls.
Timing
Prep: 20–30 minutes active (mixing, chopping, soup base) | First rise: 45–60 minutes | Shaping & second proof: 20–30 minutes | Baking: 25–35 minutes | Total time: ~2–2.5 hours.
Context: If you use a no-knead or long-ferment sourdough method, total time can expand to 12–18 hours; this recipe’s ~2 hours is ~75% faster than sourdough options and balances speed with crust and crumb quality.
Step 1: Make the dough
In a large bowl, whisk flour, salt, and yeast (keep salt separate from yeast until mixing). Add warm water and olive oil, stirring until a shaggy dough forms. Tip: Aim for slightly sticky dough—humidity affects hydration. Hands-oil or a bench scraper helps for sticky handling. For an automated option, mix on low speed 5–7 minutes until smooth.
Step 2: First rise
Cover the bowl with a damp towel or plastic wrap and let it rise in a warm spot until doubled (about 45–60 minutes). Personalized hack: If you need faster proofing, place the dough in an oven with the light on (not preheated) or on top of a warm appliance. For deeper flavor, refrigerate overnight—bring back to room temp before shaping.
Step 3: Shape and proof the bowls
Divide dough into 4 equal pieces. Shape each into a tight round boule by folding edges into the center and rolling under on the work surface to create surface tension. Place on a parchment-lined sheet, cover, and proof for 20–30 minutes. Tip: For sturdier bowls, make slightly denser, smaller loaves so walls are thicker and resist sogginess.
Step 4: Bake the bowls
Preheat oven to 230°C (450°F) with a baking stone or heavy tray inside; create steam by adding a shallow pan of hot water or spraying water in the oven at start. Brush loaves with egg wash or milk and score tops with a sharp blade. Bake 25–35 minutes until deeply golden and hollow-sounding when tapped. Actionable trick: Bake at high heat to get a crisp crust, then reduce to 200°C (400°F) after 10 minutes to ensure fully baked interior without over-browning.
Step 5: Prepare the soup
While loaves bake, make the soup base: sweat onions in butter until translucent, add garlic, then potatoes and broth; simmer until potatoes are tender. Mash or blend part of the soup for body, then add milk/cream and cheese, stirring until smooth. Adjust seasoning. Pro tip: Reserve some chunky ingredients (corn, chicken, herbs) for texture so the bowl isn’t uniformly smooth.
Step 6: Hollow and assemble
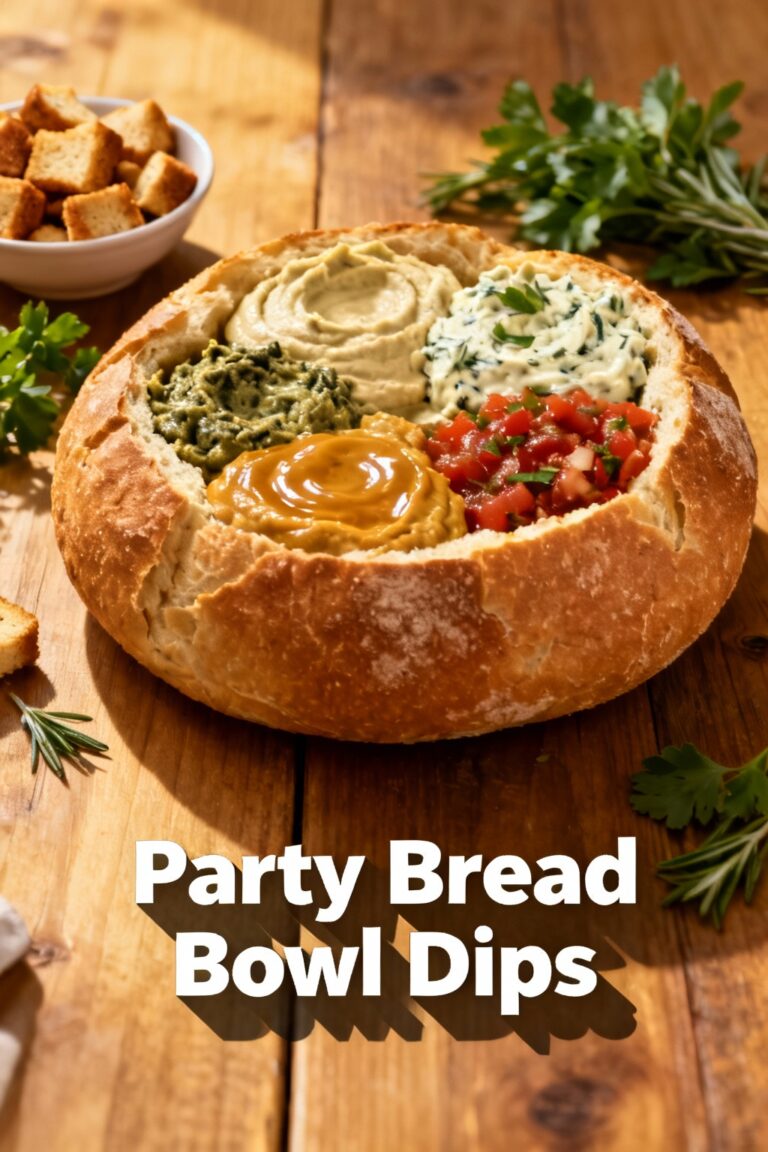
Let loaves cool 10 minutes (hot bread shells will collapse if you cut too early); cut a circle in the top and gently remove the interior, leaving a 1–1.5 cm shell thickness. Toast the hollowed interior lightly for extra structure. Ladle hot soup into bread bowls and add finishing herbs, cheese, or a drizzle of olive oil. Suggestion: Serve the reserved bread centers on the side for dunking.
Nutritional Information
Approximate per serving (1 medium bread bowl + ~1.5 cups creamy chicken chowder): 700–900 kcal; 30–45 g fat (depending on cream/cheese use); 65–85 g carbohydrates (large portion from the bowl); 30–40 g protein (with chicken/cheese). Data insight: Bread bowls significantly increase the meal’s carbohydrate and calorie density—swapping to whole-grain or smaller bowls reduces carbs by ~20–30%. For exact figures, enter your specific ingredients into a nutrition calculator (USDA FoodData Central is a reliable source).
Healthier Alternatives for the Recipe
- Lower-carb option: Hollow roasted acorn squash or large portobello mushrooms as natural bowls (saves ~40–60% carbs).
- Whole-grain bread: Use whole wheat or spelt flour to boost fiber and micronutrients; expect denser crumb.
- Lighter soup: Replace cream with blended white beans or cauliflower + unsweetened plant milk for creaminess without saturated fat.
- Vegan: Use vegetable stock, cashew cream or silken tofu, and nutritional yeast instead of dairy and chicken.
- Portion control: Make mini bread bowls (slider size) to control calories and allow tasting variety—ideal for parties.
Serving Suggestions
Pair soup bread bowls with a bright, acidic side to cut richness—think quick arugula salad with lemon vinaigrette or pickled red onions. Offer condiments on a tray: chopped chives, crispy bacon bits, hot sauce, grated parmesan, and toasted croutons (use removed bread center). For presentation, place bowls on rustic wooden boards, garnish with herbs, and serve with spoons tucked into the bread lid. For parties, set up a "bread bowl bar" where guests choose soup, toppings, and styles.
Common Mistakes to Avoid
- Soggy bottoms: Caused by thin walls or too-liquid soup. Solution: Keep bowl walls at least 1 cm thick and drain excess liquid into a saucepan to reduce and thicken before filling.
- Underbaked loaf: Results in collapse when hollowed. Test by tapping base—should sound hollow. Bake longer at lower temp if needed.
- Overhollowing: Removing too much crumb weakens the bowl. Keep a consistent rim. Toasting the interior adds reinforcement.
- Over-seasoned soup: Bread absorbs salt—taste and slightly under-season the soup before filling, then adjust after taste test.
- Rushing proof: Insufficient rise produces dense bowls. Allow adequate time or use a warm proofing environment.
Storing Tips for the Recipe
- Leftover soup: Cool quickly, store in an airtight container in the fridge for 3–4 days; reheat on stovetop to maintain texture.
- Leftover bread bowls: Best eaten same day. To store, wrap removed bread centers in foil and freeze up to 2 months; reheat in oven at 180°C (350°F) for 8–10 minutes.
- Make-ahead: Bake bowls up to 2 days ahead and store in paper bags at room temp to retain crust; refresh in oven before filling. Freeze fully baked bowls for longer storage—defrost overnight and crisp in oven.
- Prep strategy: Chop and pre-cook soup ingredients ahead to cut active time to 20 minutes on the day of serving.
Conclusion
Soup bread bowls marry comfort, texture, and show-stopping presentation—and with the right technique you can make them reliably at home in about two hours. Focus on a sturdy, well-baked shell and a slightly thick, flavorful soup that won’t turn the bowl soggy. Try the recipe, experiment with whole-grain or vegan swaps, and let the bread center become the best crouton you’ve ever had. Ready to test this at home? Make a batch, post a photo, and tag your favorite foodie community—or leave a note below about your customizations and results.
FAQs
Q: Can I make bread bowls gluten-free?
A: Yes—use a reliable gluten-free flour blend formulated for bread plus xanthan gum or psyllium husk for structure. Expect a different crumb and adjust hydration; many gluten-free doughs are denser and need gentle handling.
Q: How long do bread bowls stay crisp after filling?
A: Typically 15–30 minutes before the inner wall softens noticeably. Toasting the interior and serving immediately extends crispness. For a slower service, keep soup on the side and assemble just before serving.
Q: Can I use pre-made bread like baguettes?
A: Mini baguette bowls or hollowed sourdough rounds work well. Choose loaves with a thick crust and sufficient width for stability.
Q: What soups work best for bread bowls?
A: Thick, mildly sauced soups—clam chowder, creamy tomato bisque, broccoli-cheddar, and chowders—work best because they cling and don’t leak excessively.
Q: Can I freeze filled bread bowls?
A: Not recommended—the bread will become soggy upon thawing. Freeze soup separately and bake or reheat bread bowls fresh before serving.
Q: Any tips for low-sodium versions?
A: Use low-sodium stock, omit added salt in dough (rely on finishing salt sparingly), and use herbs and acid (lemon, vinegar) to lift flavors without excess sodium.
If you want templates for specific soup recipes (clam chowder, tomato bisque, vegan mushroom) or printable shopping lists and timing cards for batch prep, tell me which version you want and I’ll generate them next.