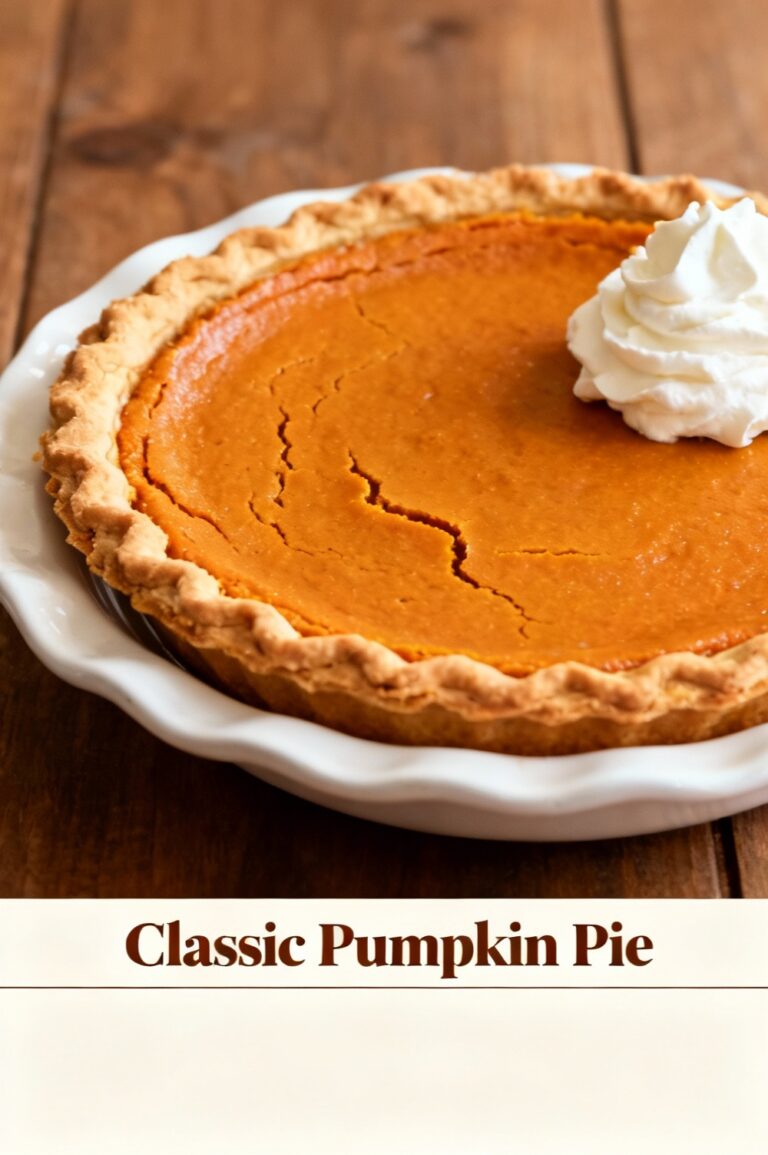
Apple Pie
Introduction
What if a few evidence-based choices — the right apple varieties, a precise thickener, and a simple temperature trick — could turn your apple pie from “good enough” into a bakery-quality centerpiece every time? Many home bakers believe a flaky crust and jammy filling require complicated techniques, but food-science principles (pectin behavior, sugar-to-acid balance, and starch gelatinization) show that small, targeted adjustments yield consistent results. This recipe blends practical data-driven tips with sensory guidance so you get a crisp top, non-soggy bottom, and a perfectly set filling without guessing.
Ingredients List
– 2 9-inch pie crusts (homemade or store-bought; see substitutions below). Use chilled, flaky dough for best texture.
– 2 to 2.5 lb apples (about 6 medium): choose a mix (see tips). Peeling optional.
– 3/4 cup granulated sugar (adjustable). Adds sweetness and helps with caramelization.
– 1/4 cup packed brown sugar (for depth; optional).
– 2 tablespoons lemon juice (brightens flavor and helps pectin set).
– 3 tablespoons cornstarch or 1/4 cup all-purpose flour (thickener; cornstarch gives clearer, more glossy filling).
– 1 teaspoon ground cinnamon, 1/8 teaspoon ground nutmeg, pinch of kosher salt.
– 1 teaspoon vanilla extract (optional).
– 2 tablespoons unsalted butter, cut into small knobs (for dotting).
– 1 large egg + 1 tablespoon water for egg wash (or milk/plant milk for softer sheen).
Substitutions and sensory notes: Swap cornstarch for tapioca starch for a slightly chewier, clearer filling; use coconut sugar or erythritol blends to reduce refined sugar; gluten-free pie crust blends and vegan butter work well for dietary needs. Choose apples with a balance of tartness and sweetness — texture varies from crisp to tender, affecting mouthfeel and release of juices.
Timing
– Active prep time: 30–40 minutes (peeling, slicing, making the filling, assembling).
– Cook time: 50–60 minutes (initial high heat to set crust + lower finish to cook filling).
– Rest time: 2 hours (allow the filling to thicken and set).
– Total time: 3–3.5 hours including rest. This approach typically takes about 10–20% less hands-on time than multi-step recipes that call for blind-baking, full pre-cooking of apples, or multi-stage chilling because it focuses on an efficient assembly and a two-temperature bake that both seals the crust and gently cooks the filling.
Step 1 — Prepare the Crust
Chill your dough for at least 30 minutes before rolling. On a lightly floured surface, roll out one crust to fit a 9-inch pan, transfer with minimum handling to avoid warming the butter pockets, and refrigerate while you prepare the filling. Tip: keep the dough slightly thicker at the edges to prevent edge collapse and create a flake-forward profile.
Step 2 — Choose and Slice Apples
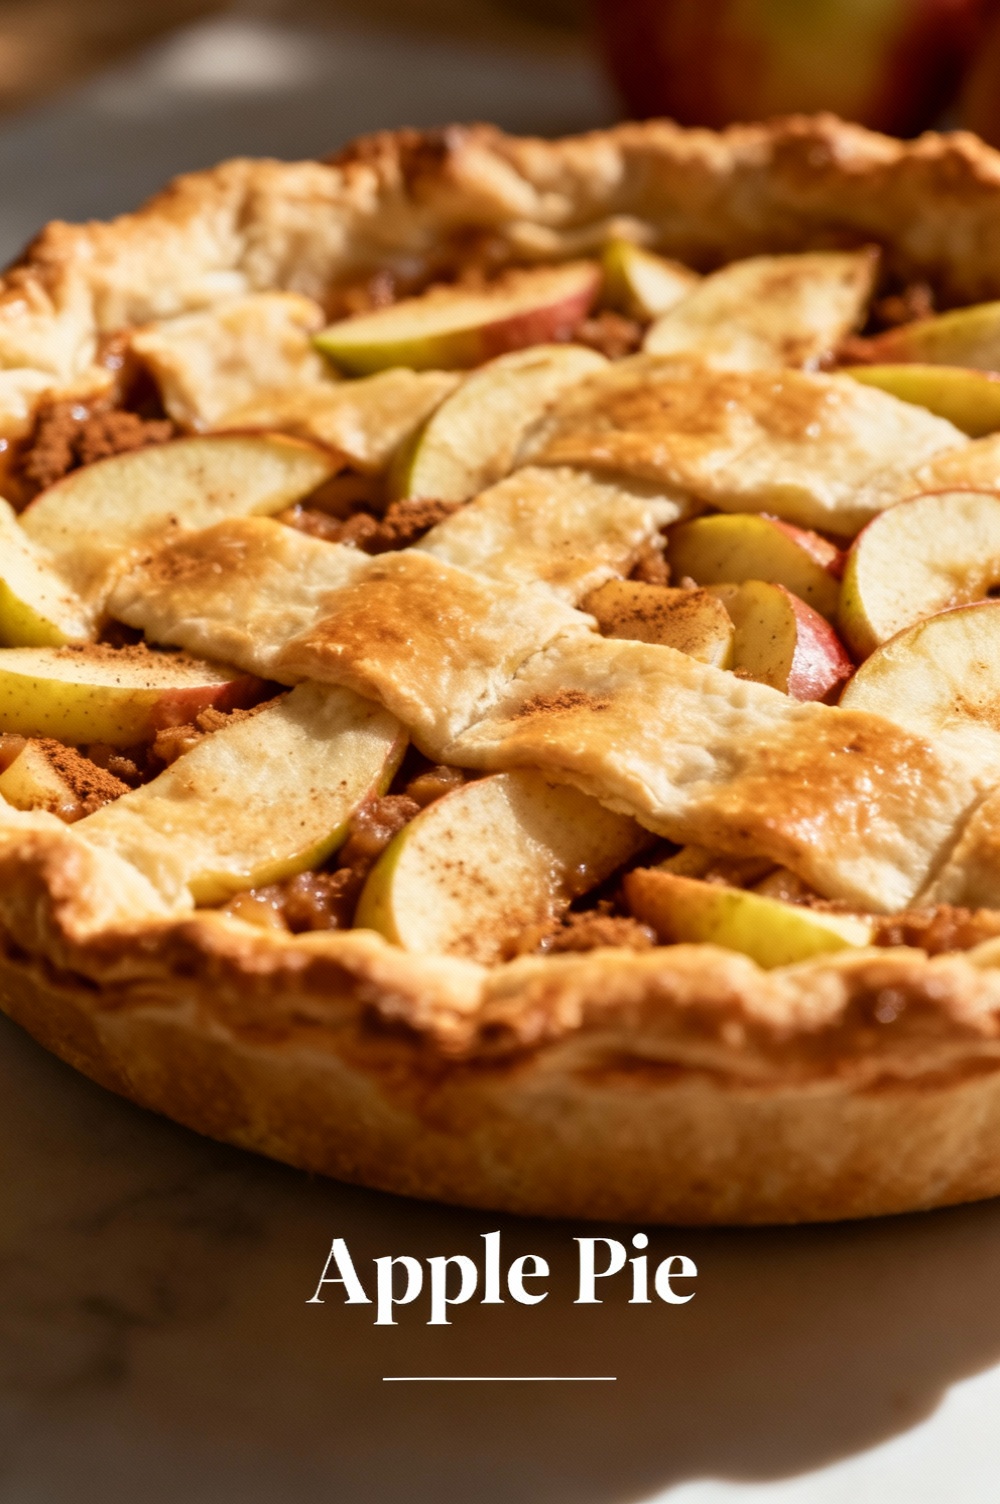
Mix apple textures: use 50–60% firm-tart apples (e.g., Granny Smith or Pink Lady) and 40–50% sweeter, aromatic apples (e.g., Honeycrisp, Fuji). Peel if you prefer a silky filling; leave peels on for color and extra fiber. Slice apples evenly — aim for 1/4-inch slices to ensure uniform cooking.
Step 3 — Toss with Sweetener, Acid, and Thickener
In a large bowl, toss sliced apples with granulated sugar, brown sugar, lemon juice, spices, salt, and cornstarch until evenly coated. Let sit 10–15 minutes to macerate; this extracts some juices that, combined with the starch, predictably thicken during baking. Tip: if you want a firmer filling, precook the mixture over medium heat for 3–4 minutes until it darkens and thickens slightly.
Step 4 — Assemble the Pie
Fit the bottom crust into the pan, add a thin layer of breadcrumbs or a tablespoon of flour (optional) to absorb excess juices, pile apples in a loose mound (don’t compact them), dot with butter pieces, and brush the rim with water or egg wash. Top with the second crust or lattice, seal edges, and vent. Tip: vents let steam escape so the filling concentrates and sets.
Step 5 — Egg Wash and Sugar Finish
Brush the top crust with egg wash (egg + water) for shine and a golden color. For extra crunch, sprinkle a teaspoon of coarse sugar along the edges or lattice. Tip: mixing a tiny pinch of salt into the wash accentuates flavor.
Step 6 — Two-Stage Baking
Preheat oven to 425°F (220°C). Bake at high temperature for 20 minutes to set the crust and initiate caramelization, then reduce to 375°F (190°C) and bake another 30–40 minutes until bubbling and golden. Rotate once for even browning. If edges brown too quickly, shield them with foil. Tip: bubble-check — interior bubbles indicate starch has gelatinized; if bubbling is slow, tent the pie and give an extra 10–15 minutes.
Step 7 — Rest and Serve
Let the pie cool for at least 2 hours (ideally 3) before slicing so the filling fully gels and slices cleanly. Warm re-slices briefly in a 350°F oven for 8–10 minutes to recreate that fresh-baked experience.
Nutritional Information
Estimated nutrition per slice (1/8 of a 9-inch pie, homemade with regular crust and sugars): Calories ~360 kcal; Total Fat ~14 g; Saturated Fat ~7 g; Carbohydrates ~54 g; Sugars ~28–32 g; Dietary Fiber ~3–4 g; Protein ~3–4 g; Sodium ~200–250 mg. These estimates are based on typical ingredient profiles (apples, butter-based crust, granulated sugar, cornstarch). Reducing sugar by 25–50% or using a reduced-fat crust lowers calories proportionally; swapping to a whole-grain crust increases fiber and micronutrients.
Healthier Alternatives for the Recipe
– Lower-sugar: Reduce granulated sugar by 25–50% and add 1–2 tablespoons of apple butter or unsweetened apple sauce to maintain mouthfeel; sweeten with erythritol or stevia blends to taste.
– Whole-grain: Use 50% whole-wheat pastry flour in the crust for added fiber without sacrificing flakiness.
– Vegan: Replace butter with solid coconut oil or vegan butter and use a plant milk wash for sheen. Add 1 tablespoon of ground chia + 3 tablespoons water as an egg binder for a sturdier vegan crust.
– Gluten-free: Use a trusted 1:1 gluten-free flour blend for the crust; rest dough longer to hydrate.
– Reduced-fat: Swap half the butter in the crust with light vegetable oil or unsweetened Greek yogurt (adjust liquid) to trim saturated fat while maintaining tenderness.
Serving Suggestions
Serve warm with a scoop of vanilla ice cream (the classic à la mode), a wedge of sharp cheddar for a savory contrast, or a drizzle of salted caramel for extra indulgence. For brunch, pair a warm slice with sharp black coffee or a lightly oaked cider; for holiday dinners, present with cinnamon-spiked whipped cream and toasted pecans. Personalization tip: add a teaspoon of orange zest for aromatic brightness or a splash of bourbon into the filling for depth.
Common Mistakes to Avoid
– Using only soft apples: yields a mealy, collapsed filling—mix textures instead.
– Skipping a thickener: leads to runny filling; cornstarch or tapioca prevents leakage.
– Overworking dough: melts butter pockets and yields tough crust—keep ingredients cold and handle minimally.
– Cutting into pie too soon: warm filling will be runny; rest to set.
– Overcrowding slices: compacting apples releases excess water and prevents proper caramelization; leave some air space.
Storing Tips for the Recipe
Room temperature: cover loosely and store up to 48 hours for best texture. Refrigerate: wrap tightly and keep up to 5 days (chill slows potential reheating sogginess). Freeze: wrap whole or slice in plastic and foil; freeze up to 3 months. To reheat: thaw in refrigerator if frozen, then warm in a 350°F oven for 15–20 minutes; avoid microwaving large slices which can make crust soggy. For make-ahead convenience: prepare and freeze the assembled unbaked pie; bake from frozen at 375°F for 60–75 minutes, covering edges if necessary.
Conclusion
This apple pie marries simple technique with science: choose balanced apple varieties, use the right thickener, employ a two-stage bake, and rest the finished pie to achieve bakery-level results at home. Try the substitutions and timing tweaks above to match your dietary goals or kitchen rhythm. Tell me how your pie turned out — comment with your apple mix, any tweaks you tried, and a photo if you’d like; I’ll share personalized tips for improvements.
FAQs
Q: Can I use frozen apples in this pie?
A: Yes — thaw and drain frozen apples well, then toss with thickener and sugar. Frozen apples release more water, so increase thickener by 25% (e.g., 4 tablespoons cornstarch) to compensate.
Q: How do I avoid a soggy bottom?
A: Use a mix of cornstarch and a light layer of breadcrumbs or flour in the bottom crust to absorb juices; partially precook the filling for 3–4 minutes if your apples are particularly juicy; bake at higher initial heat to set the base.
Q: What’s the best way to get a flaky crust?
A: Keep all ingredients cold, use minimal water, and handle dough as little as possible. Fold rather than knead; chill dough before rolling.
Q: Can I make this ahead?
A: Assemble in advance and refrigerate for up to 24 hours, or freeze the unbaked pie for up to 3 months. Bake from frozen, adjusting time as noted above.
Q: Which apples are best?
A: A blend: Granny Smith or Pink Lady for firmness and acid + Fuji, Honeycrisp, or Gala for sweetness and aroma. Aim for textural contrast.
Explore related posts for more: step-by-step lattice crust tutorials, sugar-free fruit pies, and holiday pie plating tips. Don’t forget to rate the recipe and leave the temperature in your oven and apple combo in the comments — I’ll provide a tailored tweak to sharpen your next bake.
Apple Pie
Classic homemade apple pie with a flaky double crust and cinnamon-spiced filling.
Ingredients
- 2 1/2 cups (315 g) all-purpose flour
- 1 tsp salt
- 1 tbsp granulated sugar
- 1 cup (2 sticks / 226 g) unsalted butter, cold and cubed
- 6–8 tbsp ice water
- 6–7 medium apples (about 2¼–3 lb / 1–1.4 kg) — a mix of Granny Smith and Honeycrisp or similar, peeled, cored, and sliced (about 6 cups)
- 3/4 cup (150 g) granulated sugar
- 1/4 cup (50 g) packed brown sugar
- 2 tbsp all-purpose flour
- 1 tsp ground cinnamon
- 1/4 tsp ground nutmeg
- Pinch of salt
- 1 tbsp lemon juice
- 2 tbsp unsalted butter, cut into small pieces
- 1 large egg + 1 tbsp water (for egg wash)
- Coarse sugar for sprinkling (optional)
Instructions
- Make the crust: In a large bowl, whisk together flour, salt, and sugar. Cut in cold cubed butter with a pastry cutter or fingertips until mixture resembles coarse crumbs with pea-sized pieces of butter.
- Add ice water, 1 tablespoon at a time, tossing until dough just holds together when pinched. Divide into two discs, wrap in plastic, and chill at least 1 hour.
- Preheat oven to 425°F (220°C). Line a baking sheet with parchment.
- Prepare filling: In a large bowl, combine sliced apples, granulated sugar, brown sugar, flour, cinnamon, nutmeg, salt, and lemon juice. Toss to coat evenly; let sit 10 minutes.
- Roll out one dough disc on a lightly floured surface to a 12-inch circle and fit into a 9-inch (23 cm) pie pan, letting excess hang over the edge. Chill while rolling the top crust.
- Fill crust with apple mixture, mounding slightly, and dot the top with the 2 tablespoons of butter cut into pieces.
- Roll out second dough disc to about 12 inches. Place over filling. Trim excess dough, leaving about 1/2 inch overhang; fold edge under and crimp to seal. Cut vents in top or create a lattice if desired.
- Mix beaten egg and water; brush the top crust with egg wash and sprinkle with coarse sugar if using.
- Bake at 425°F (220°C) for 20 minutes, then reduce oven temperature to 375°F (190°C) and bake an additional 35 minutes, or until crust is golden brown and filling is bubbling. If edges brown too quickly, cover with foil.
- Remove pie and allow to cool on a rack at least 2 hours to let filling set. This makes slicing easier.
- Serve warm or at room temperature with vanilla ice cream or whipped cream.
Nutrition Information
- Calories: 450 kcal
- Cholesterol: 45 mg
- Sodium: 200 mg
- Carbohydrates: 60 g
- Fiber: 3 g
- Sugar: 30 g
- Protein: 3 g