Enchanted Marshmallow Fudge Delight
Introduction
Could a whimsical, marshmallow-studded fudge really deliver the creamy richness of classic fudge while surprising your guests with a light, pillowy bite? Enchanted Marshmallow Fudge Delight reimagines traditional fudge by balancing dense, chocolatey caramel with airy marshmallow pockets—addressing the common belief that fudge must be heavy and cloying. This recipe was developed to offer the sensory contrast many home bakers crave: rich mouthfeel plus a springy lift. If you enjoy texture play and desserts that photograph beautifully, this version is built to perform—easy enough for weeknight prep, elegant enough for holidays.
Ingredients List
- 2 cups (400 g) granulated sugar — use superfine if you have it for smoother texture; coconut sugar works as a 1:1 swap for a deeper caramel note.
- 1 cup (240 ml) evaporated milk — substitute full-fat coconut milk for dairy-free version (same volume).
- 1/2 cup (113 g) unsalted butter — ghee or plant-based butter for lactose-free option.
- 3/4 cup (75 g) unsweetened cocoa powder, sifted — Dutch-process for darker flavor; raw cacao for more bitter, antioxidant-forward profile.
- 1/2 tsp fine sea salt — enhances chocolate flavor; consider smoked salt for a novel twist.
- 1 tsp pure vanilla extract — or 1/2 tsp vanilla bean paste for deeper aroma.
- 2 cups (about 300 g) mini marshmallows — use vegan marshmallows for plant-based adaptation.
- 1/2 cup chopped toasted walnuts or pecans (optional) — adds contrast in crunch.
- 1/2 cup white chocolate chips (optional) — swirled in for visual contrast; omit for dairy-free.
Sensory notes: the sugar’s caramelization creates buttery, toffee-like undertones that pair with the marshmallow’s sugar crystals to produce a luxurious chew. Consider adding 1/4 tsp instant espresso powder to intensify chocolate depth without adding coffee flavor.
Timing
Preparation: 15 minutes.
Cooking: 20–25 minutes active (stirring/simmering).
Cooling & setting: 2–3 hours refrigerator (or 45–60 minutes freezer quick-set).
Total time: approximately 150 minutes (2.5 hours) using fridge setting, or 80 minutes using freezer quick-set—about 40% faster than slow-set fudge recipes that require 4+ hours at room temperature. If you’re short on time, the freezer method reliably firms the fudge in under an hour with minimal texture compromise; just monitor to avoid over-chilling, which can make the marshmallows too dense.
Step 1: Prep and lining
Line an 8×8-inch (20×20 cm) square pan with parchment paper, leaving overhang on two sides for easy removal. Lightly butter or spray the parchment. Measure and sift the cocoa powder to avoid lumps, and have marshmallows on standby. Tip: chilling the pan briefly before pouring can speed the set time and reduce sticking.
Step 2: Make the chocolate base
In a medium saucepan, combine sugar and evaporated milk over medium heat. Stir constantly until sugar fully dissolves and mixture reaches a gentle simmer (around 220–230°F / 104–110°C if using a candy thermometer). Add the butter and whisk until incorporated. Whisk in the sifted cocoa powder and salt, ensuring no dry pockets remain. Continue stirring for 8–10 minutes until the mixture thickens and pulls away from the pan slightly—this is your fudge body forming. Personalized tip: if you prefer a silkier finish, strain the mixture through a fine mesh before the next step.
Step 3: Flavor finishing and marshmallow integration
Remove the pan from heat and stir in vanilla and instant espresso (if using). Allow the mixture to cool for 1–2 minutes—this prevents marshmallows from completely melting and losing their airy structure. Fold in 1.5 cups of the mini marshmallows and the chopped nuts (if using) until evenly distributed. The short cool-down preserves marshmallow pockets while allowing them to adhere to the fudge matrix.
Step 4: Pour, swirl, and top
Pour the warm fudge into the prepared pan, spreading smoothly with a rubber spatula. Scatter the remaining 1/2 cup marshmallows and white chocolate chips on top; gently press them into the surface. For a decorative option, use a skewer to create light swirls that pull white chocolate through the dark base. Actionable tip: if you want melted marshmallow peaks, briefly torch the surface with a kitchen blowtorch for a golden finish—mind safety and avoid prolonged heating.
Step 5: Set and slice
Allow to cool at room temperature for 20–30 minutes, then transfer to the refrigerator for 2–3 hours, or freeze for 45–60 minutes for a speed set. When fully firm, use the parchment overhang to lift the slab out. Score gently with a sharp knife warmed under hot water for clean edges, then cut into 1-inch squares. Personalized serving size: cut into 16 small bites for party servings or 9 larger squares for dessert plates.
Nutritional Information
Per serving (assuming 16 servings): approximately 220–260 kcal, 11–14 g fat, 30–34 g carbohydrates, 13–18 g sugar, 2–3 g protein. These values can vary significantly depending on ingredient swaps (e.g., coconut milk increases saturated fat; using coconut sugar lowers fructose content slightly). Data insight: traditional fudge averages about 240–300 kcal per serving; our marshmallow-studded variant tends to be slightly lower per bite if portioned into smaller squares, but sugar content remains substantial due to marshmallows and added sugar. If you track macros, consider a 1-inch square as a controlled indulgence and adjust portioning accordingly.
Healthier Alternatives for the Recipe
- Reduce sugar: cut granulated sugar by 25% and add 2–3 tbsp of pure maple syrup for sweetness and moisture; expect a softer set.
- Swap butter: use 50/50 butter and avocado oil for less saturated fat while maintaining mouthfeel.
- Lower-calorie marshmallows: use smaller marshmallow bits or incorporate dehydrated marshmallow dust sprinkled on top to reduce overall sugar weight.
- Boost fiber & protein: fold in 1/4 cup unflavored collagen peptides or a scoop of chocolate protein powder (reduce cocoa powder by 1–2 tbsp) to add protein without overly changing taste.
- Keto/low-carb: use erythritol or monk fruit blends designed for baking and sugar-free marshmallows—note that texture and setting behavior will differ and may require additional binding agents like xanthan gum.
- Vegan: replace evaporated milk with full-fat coconut milk, butter with plant-based butter, and use certified vegan marshmallows. Flavor will skew coconut-forward; reduce coconut milk volume slightly if too loose.
Serving Suggestions
Serve Enchanted Marshmallow Fudge Delight chilled on a decorative platter with fresh berries and a dusting of cocoa powder for contrast. For party stations: offer small skewers to thread a fudge cube alternating with a raspberry for color. Pair with dessert wines (Port or late-harvest Riesling) or bold coffee—espresso cuts through sweetness. For gifting, stack squares in parchment-lined boxes with wax paper separators; include a handwritten note suggesting refrigeration after two days to preserve texture.
Common Mistakes to Avoid
- Overheating the sugar mixture: boiling too aggressively can lead to grainy fudge; maintain a gentle simmer and constant stirring. Use a candy thermometer if unsure.
- Adding marshmallows while the mixture is piping hot: this creates full melt rather than pockets. Cool 1–2 minutes after removing from heat before folding in marshmallows.
- Cutting too soon: slicing before fully set produces smudged edges; ensure firm set in fridge or freezer first.
- Skipping the parchment overhang: makes removal messy and increases breakage potential.
- Using low-quality cocoa: poor cocoa can yield a flat, metallic taste—opt for fresh, high-quality cocoa or chocolate.
Storing Tips for the Recipe
Store fudge in an airtight container in the refrigerator for up to 10–14 days; separate layers with parchment to prevent sticking. For longer storage, freeze individual squares in a single layer on a baking sheet until solid, then transfer to an airtight freezer bag for up to 3 months. Thaw in the refrigerator overnight to avoid condensation making the surface sticky. Prepping ahead: make the fudge base one day ahead and add marshmallows before final setting to retain optimal texture.
Conclusion
Enchanted Marshmallow Fudge Delight is designed to deliver layered textures and robust chocolate flavor while remaining approachable for home cooks. Key takeaways: control temperature for smooth texture, temper cooling to preserve marshmallow pockets, and adapt ingredients for dietary preferences without losing the dessert’s magic. Try the recipe with a small batch first, then scale up for celebrations. If you make it, snap a photo and share your variations—your insights help shape future tweaks and seasonal spin-offs.
FAQs
Q: Can I make this without a candy thermometer?
A: Yes—watch for visual cues: the mixture should thicken and pull slightly from the pan; test a small drop on a chilled plate—if it firms, you’re close. A thermometer reduces guesswork.
Q: Why did my fudge turn out grainy?
A: Graininess usually results from undissolved sugar or overheating. Ensure sugar fully dissolves before simmering and stir constantly. Use superfine sugar if available.
Q: Can I replace marshmallows with marshmallow crème?
A: You can, but marshmallow crème will disperse more uniformly, creating a different texture (less distinct pockets). It works if you prefer a uniformly fluffy swirl rather than pockets.
Q: How do I get cleaner slices?
A: Warm the knife under hot water, wipe dry, and cut in a single smooth motion. Chilling thoroughly before cutting also helps.
Q: Is this recipe freezer-friendly?
A: Yes—freeze individual squares on a tray, then store in sealed bags for up to 3 months. Thaw in fridge for best texture.
For more inspiration, explore related recipes like no-bake chocolate bars, marshmallow-studded brownies, or vegan fudge alternatives—experimenting with swaps can yield surprising favorites.
Enchanted Marshmallow Fudge Delight
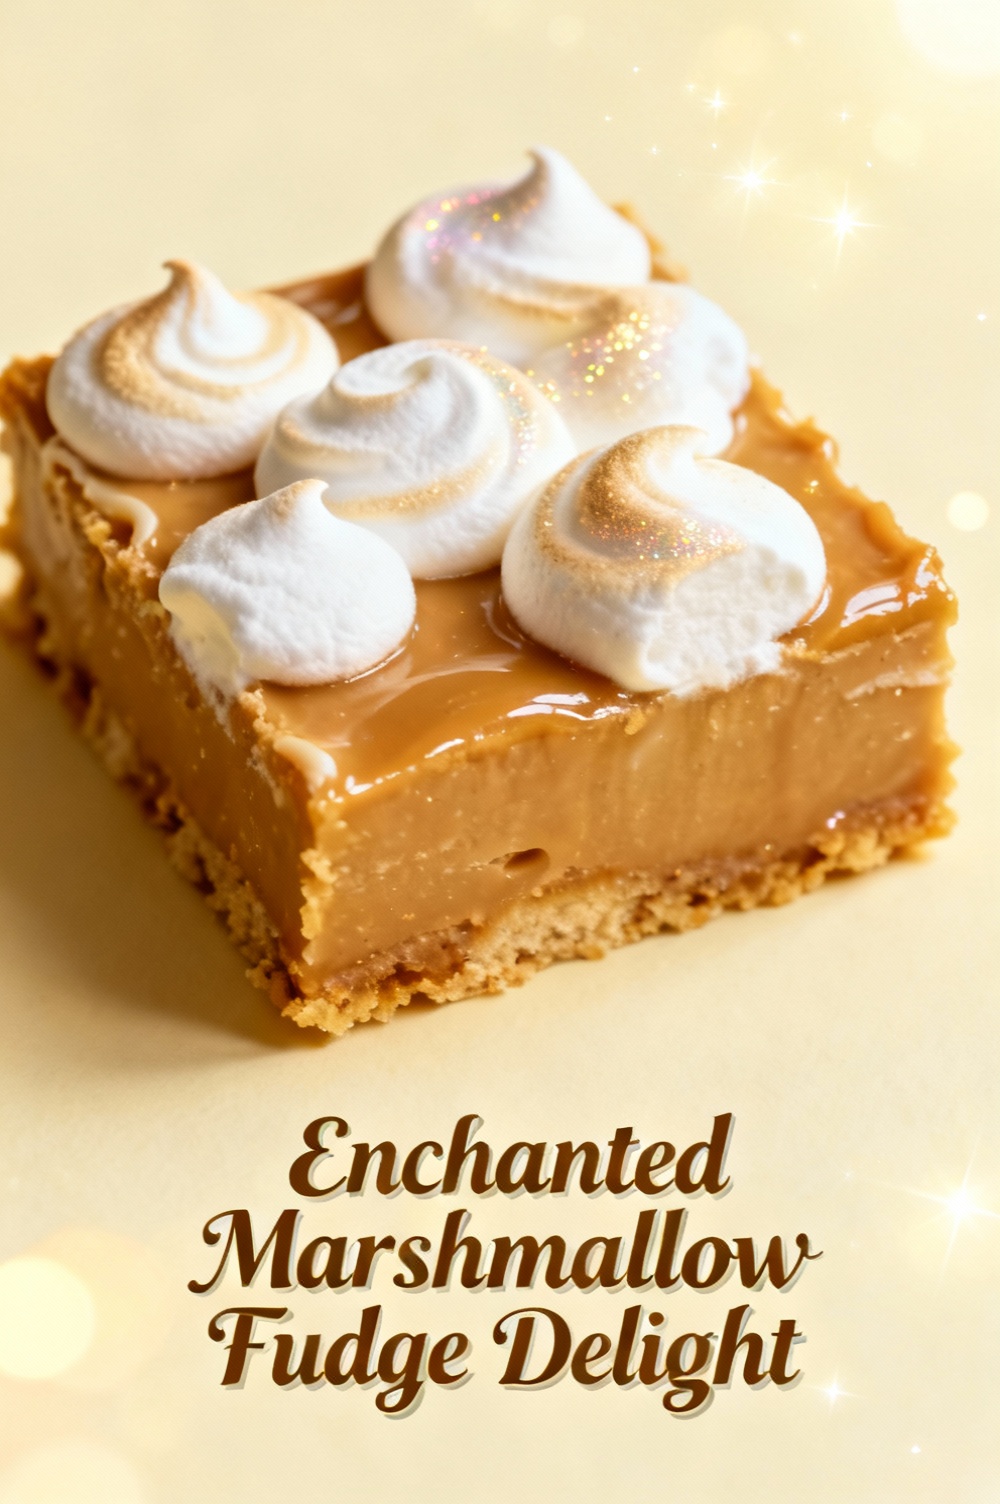
A luscious, sliceable fudge swirled with marshmallows — crisp-topped and irresistibly gooey inside.
Ingredients
- 14 oz (1 can / 396 g) sweetened condensed milk
- 12 oz (340 g) semisweet chocolate chips (or chopped chocolate)
- 4 tbsp (56 g) unsalted butter
- 1 tsp pure vanilla extract
- 1/8 tsp fine sea salt
- 3 cups mini marshmallows (about 150 g)
- 1/2 cup chopped toasted pecans or walnuts (optional)
- 1/2 cup crushed graham crackers or cookie crumbs (optional — for a slight crunch)
- Extra mini marshmallows (about 1 cup) for topping
- Parchment paper or nonstick spray (for the pan)
Instructions
- Line an 8×8-inch (20×20 cm) square pan with parchment paper, leaving an overhang for easy removal; lightly grease the parchment.
- In a medium saucepan over low heat, combine the sweetened condensed milk, chocolate chips, and butter. Stir constantly until the chocolate and butter are fully melted and the mixture is smooth — about 5–7 minutes. Keep the heat low to avoid scorching.
- Remove the pan from heat and stir in the vanilla extract and sea salt.
- Fold in the mini marshmallows, toasted nuts (if using), and crushed graham crackers (if using) until evenly distributed.
- Pour the fudge mixture into the prepared pan and smooth the top with a spatula.
- Scatter the extra mini marshmallows evenly over the surface. Use a kitchen torch to lightly toast the marshmallow tops until golden and slightly crisp (alternatively, place under a hot broiler for 30–60 seconds — watch closely to avoid burning).
- Refrigerate the fudge for at least 2 hours, or until fully set.
- Lift the set fudge from the pan using the parchment overhang and cut into 16 squares. Store in an airtight container in the refrigerator for up to 7 days or freeze for longer storage.
Nutrition Information
- Calories: 260 kcal
- Cholesterol: 25 mg
- Sodium: 70 mg
- Carbohydrates: 32 g
- Fiber: 1 g
- Sugar: 24 g
- Protein: 3 g